Bootstrap Menu HTML
Introduction
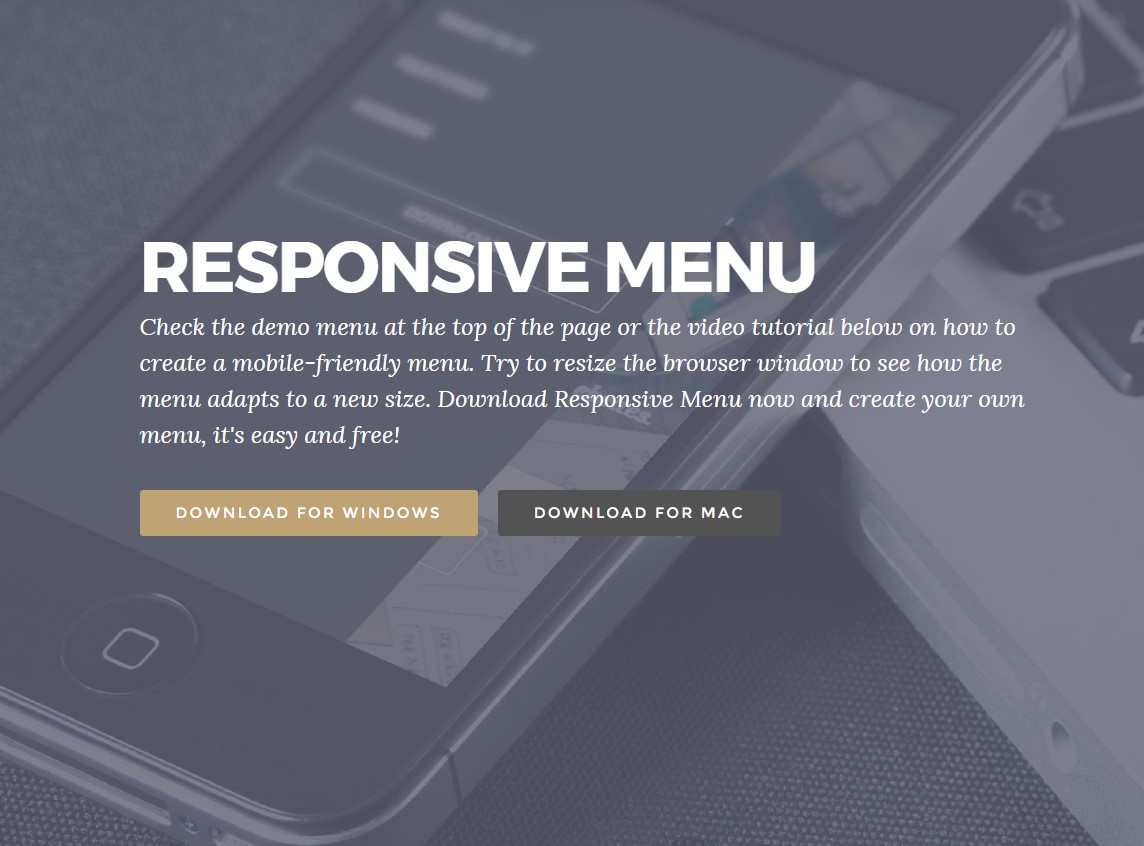
Even the easiest, not discussing the much more complicated webpages do desire some sort of an index for the website visitors to quickly navigate and find what they are actually seeking in the first few seconds avter their arrival over the webpage. We should regularly have in thoughts a customer might be in a rush, checking out numerous webpages for a while scrolling over them searching for an item or else make a choice. In these particular instances the clear and properly presented navigational menu might possibly make the variation between a single unique site visitor and the webpage being simply clicked away. So the structure and behaviour of the page navigating are important without a doubt. On top of that our websites get more and more observed from mobile phone in this way not having a page and a navigating in special acting on smaller sized sreens basically rises to not owning a webpage at all or even worse.
The good news is the fresh 4th edition of the Bootstrap system supplies us with a powerful instrument to handle the case-- the so called navbar feature or the menu bar people got used viewing on the tip of many pages. It is a helpful but efficient instrument for wrapping our brand's identification info, the webpages design or even a search form or else a handful of call to action buttons. Let us see just how this whole thing gets handled inside Bootstrap 4.
Efficient ways to work with the Bootstrap Menu Working:
First off we require a
<nav>.navbar.navbar-light.bg-fadedbg-inverse.navbar-inverseYou can easily likewise utilize some of the contextual classes such as
.bg-primary.bg-warningAn additional bright new feature introduced in the alpha 6 of Bootstrap 4 system is you need to in addition specify the breakpoint at which the navbar should collapse in order to get revealed once the selection button gets clicked. To do this add in a
.navbar-toggleable- ~the desired viewport size ~<nav>Next step
Next off we need to generate the so called Menu button that will show up in the location of the collapsed Bootstrap Menu Mobile and the users will definitely utilize to deliver it back on. To do this design a
<button>.navbar-togglerdata-toggle =“collapse”data-target =“ ~ the ID of the collapse element we will create below ~ ”.navbar-toggler-rightSupported material
Navbars shown up with incorporated help for a variety of sub-components. Choose from the following as needed :
.navbar-brand.navbar-nav.navbar-toggler.form-inline.navbar-text.collapse.navbar-collapseHere is simply an illustration of every the sub-components included in a responsive light-themed navbar that promptly collapses at the
md
<nav class="navbar navbar-toggleable-md navbar-light bg-faded">
  <button class="navbar-toggler navbar-toggler-right" type="button" data-toggle="collapse" data-target="#navbarSupportedContent" aria-controls="navbarSupportedContent" aria-expanded="false" aria-label="Toggle navigation">
    <span class="navbar-toggler-icon"></span>
  </button>
  <a class="navbar-brand" href="#">Navbar</a>

  <div class="collapse navbar-collapse" id="navbarSupportedContent">
    <ul class="navbar-nav mr-auto">
      <li class="nav-item active">
        <a class="nav-link" href="#">Home <span class="sr-only">(current)</span></a>
      </li>
      <li class="nav-item">
        <a class="nav-link" href="#">Link</a>
      </li>
      <li class="nav-item">
        <a class="nav-link disabled" href="#">Disabled</a>
      </li>
    </ul>
    <form class="form-inline my-2 my-lg-0">
      <input class="form-control mr-sm-2" type="text" placeholder="Search">
      <button class="btn btn-outline-success my-2 my-sm-0" type="submit">Search</button>
    </form>
  </div>
</nav>
Brand
The
.navbar-brand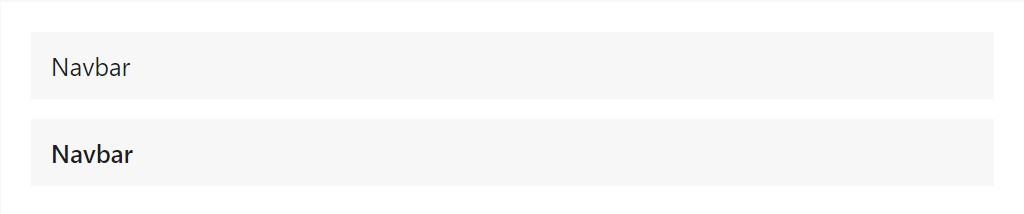
<!-- As a link -->
<nav class="navbar navbar-light bg-faded">
  <a class="navbar-brand" href="#">Navbar</a>
</nav>

<!-- As a heading -->
<nav class="navbar navbar-light bg-faded">
  <h1 class="navbar-brand mb-0">Navbar</h1>
</nav>
Nav
Navbar navigation web links build on Bootstrap
.navActive forms-- with
.active.nav-links.nav-items
<nav class="navbar navbar-toggleable-md navbar-light bg-faded">
  <button class="navbar-toggler navbar-toggler-right" type="button" data-toggle="collapse" data-target="#navbarNav" aria-controls="navbarNav" aria-expanded="false" aria-label="Toggle navigation">
    <span class="navbar-toggler-icon"></span>
  </button>
  <a class="navbar-brand" href="#">Navbar</a>
  <div class="collapse navbar-collapse" id="navbarNav">
    <ul class="navbar-nav">
      <li class="nav-item active">
        <a class="nav-link" href="#">Home <span class="sr-only">(current)</span></a>
      </li>
      <li class="nav-item">
        <a class="nav-link" href="#">Features</a>
      </li>
      <li class="nav-item">
        <a class="nav-link" href="#">Pricing</a>
      </li>
      <li class="nav-item">
        <a class="nav-link disabled" href="#">Disabled</a>
      </li>
    </ul>
  </div>
</nav>
Forms
Made various form regulations and elements in a navbar using
.form-inline
<nav class="navbar navbar-light bg-faded">
  <form class="form-inline">
    <input class="form-control mr-sm-2" type="text" placeholder="Search">
    <button class="btn btn-outline-success my-2 my-sm-0" type="submit">Search</button>
  </form>
</nav>
Text
Navbars can include bits of text with the help of
.navbar-text
<nav class="navbar navbar-light bg-faded">
  <span class="navbar-text">
    Navbar text with an inline element
  </span>
</nav>
An additional feature
One other bright brand-new function-- in the
.navbar-toggler<span>.navbar-toggler-icon.navbar-brandNext we ought to make the container for our menu-- it will widen it to a bar along with inline objects above the determined breakpoint and collapse it in a mobile phone view below it. To carry out this build an element with the classes
.collapse.navbar-collapse.navbar-toggler.collapseUltimate aspect
Finally it is definitely time for the actual site navigation menu-- wrap it within an
<ul>.navbar-nav.nav<li>.nav-item.nav-linkConclusions
And so typically this is the construction a navigating Bootstrap Menu Working in Bootstrap 4 need to hold -- it is certainly user-friendly and quite useful -- promptly the only thing that's left for you is figuring the appropriate system and pleasing titles for your material.
Inspect a couple of video clip tutorials regarding Bootstrap Menu
Connected topics:
Bootstrap menu authoritative records

Mobirise Bootstrap menu
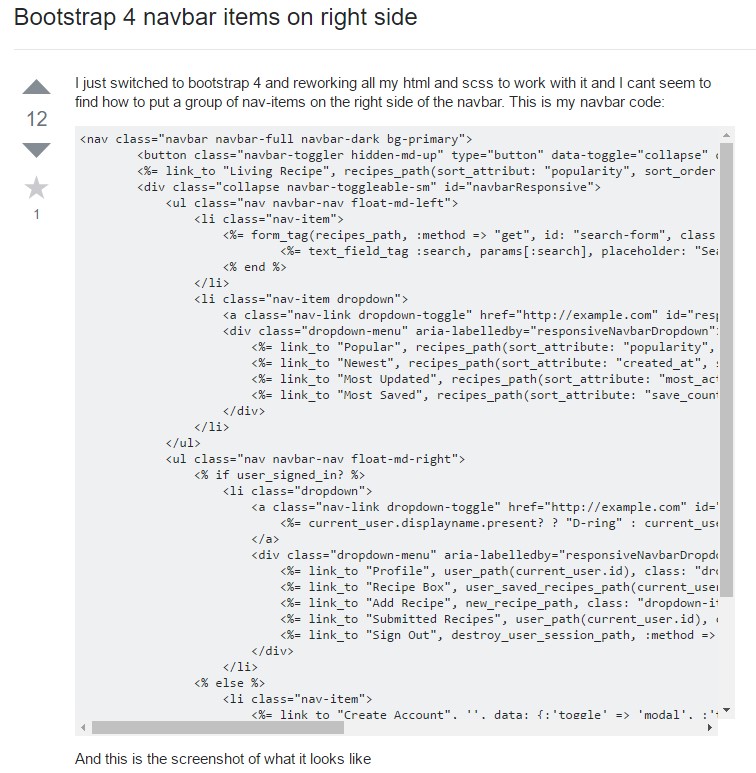
Bootstrap Menu on the right side